At Transcription Centre we specialise in transcription of interviews, focus groups and speeches for academics and market researchers primarily in the UK.

Uploading to our system - a quick guide
We've made uploading files to our system as simple as possible. Here we will outline the process for you.
1. Click on the 'Upload your audio' button here, or anywhere on our website.
On that page you will have to fill out the form to add important information such as number of speakers, turnaround time, template choice, industry/field specific vocabulary (especially any easy to mishear acronyms or company names), any content trigger warnings, and agree to our terms and conditions.
This form is very important. Without the information required, we will not be able to set the job up and we will have to clarify by email and this slows down the whole process.
2. Click to submit the information, this will take you to our secure upload site, ScribeManager.

3. Fill out the deadline details, add the PO number in the reference box if you have it as this will speed things up when it comes to invoicing. You have another opportunity to tell us anything we might need to know about the file (exact number of participants in the files is a very important thing to indicate if possible) Then click ‘proceed’.

4. Add as many files as you want to this page (you can manually add the files through the usual route, or drag and drop items directly from a folder) and click the blue 'upload' button after they have all been added.
We can now accept files up to 20gb, so please ignore the max 1gb note in this screenshot.

IT IS IMPORTANT THAT YOU PRESS THE UPLOAD BUTTON AFTER ADDING YOUR FILES TO THE BOX. THE PROGRESS BAR WILL BEGIN TO MOVE ONLY AFTER YOU PRESS THE BLUE UPLOAD BUTTON AS SHOWN IN THE SCREENSHOT BELOW.

Please wait until all files are 100% uploaded before closing this tab otherwise we will not receive them.
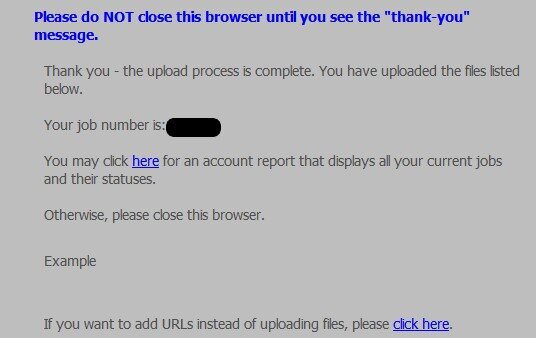
Wait until you see this message before closing the tab
We will then assess the files and confirm with you if there are any extra charges to be added due to poor audio etc. before starting work on them. This avoids any surprises on invoices.
The transcripts will be sent back to you as they are completed, this might not be the order in which they were uploaded.
As with everything at Transcription Centre, we are here to help. If you need any more information on the uploading procedure or you have particularly large files, please feel free to contact us.
How to view your uploaded jobs to check their progress
After you have accepted our quote, you can log into the system using this link. After logging in you will see a snapshot of your current jobs on the system, if there are completed transcripts you can click the links to download them.
Please remember that these are only stored for 67 days after your selected deadline, after which they are irrevocably wiped.
If you’re a new customer, you will need to set a password for yourself. Follow the link above and you will see the option to get a password. Click the link and follow the instructions. You will be sent an email with a temporary password, which is valid for 24 hours. On log in using that password you will be prompted to enter your own permanent password (at least eight alphabetical AND numerical characters).
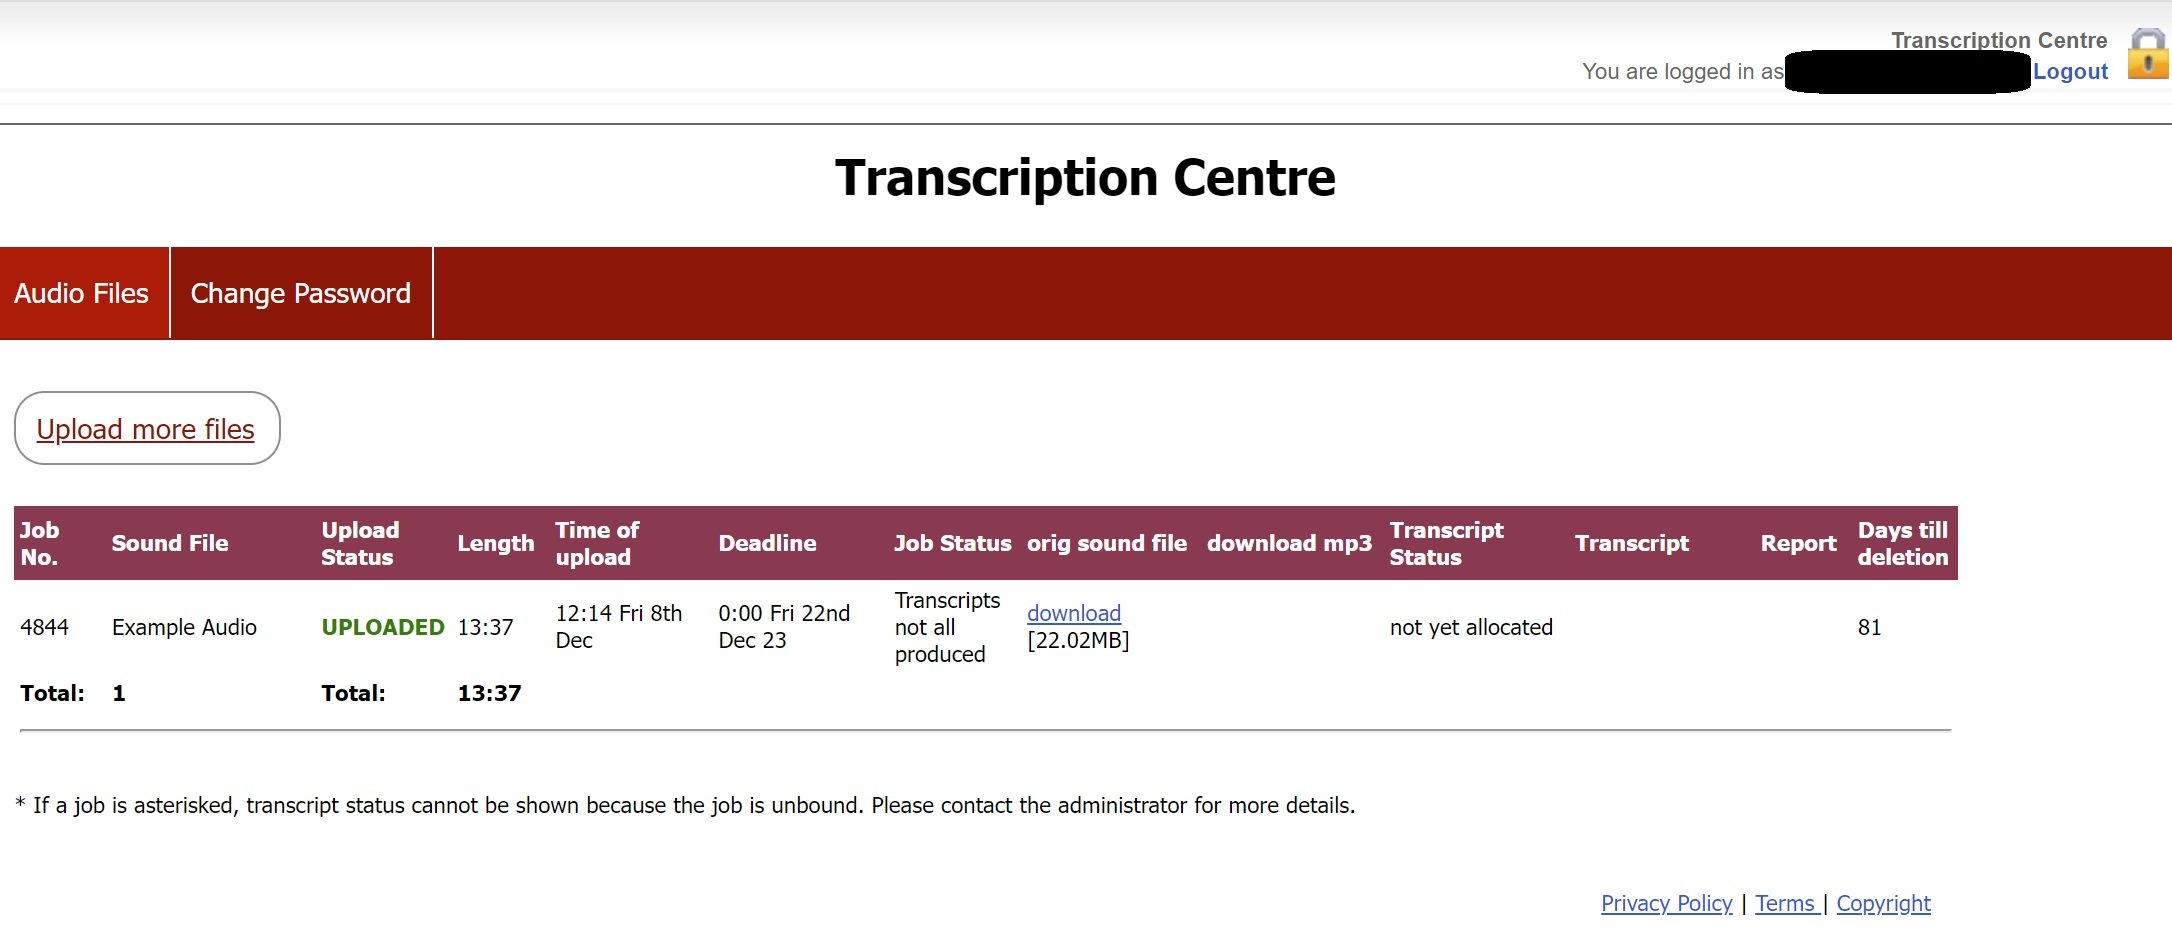
Once you have your password, you’ll be able to see what we have on the system from you in a snapshot. The below screenshot is an example.
You can see the status of the transcript, either ‘not yet allocated’, ‘allocated’, ‘Under QC’, or ‘Sent to Client’. If the status is ‘Sent to Client’ there will be a link to download the transcript.
Please feel free to get in touch with us at any stage if you need help, or something doesn’t look right. We’re happy to help.